Cinematic camera settings and lighting prompts teach you how to control exposure, lens choice, color temperature, and contrast so you can craft dramatic, filmic AI images with predictable, professional results.
The Fundamentals of Cinematic Composition
Composition frames how you place elements to create cinematic balance, contrast, and implied motion; precise framing guides viewer focus and informs camera settings and lighting prompts for consistent, dramatic results.
Implementing the Rule of Thirds and Leading Lines
Place key subjects along thirds and use leading lines to pull the eye; you control tension and pacing by aligning horizons, sightlines, and movement vectors to match your camera movement prompts.
Mastering Depth of Field and Subject Isolation
Control depth of field to separate subjects from background; you set aperture, focal length, and subject distance in prompts to craft soft bokeh or sharp layers that emphasize narrative focus.
Experiment by dialing aperture and choosing lenses to control background compression, move your subject relative to the background for stronger separation, and apply focused lighting to enhance isolation; specify numerical values in prompts (e.g., f/1.8, 85mm, 3-6m subject distance) so you can reproduce the exact look.
Virtual Optics: Selecting Lenses and Focal Lengths
Optics choices shape mood and depth; you should pick focal lengths to control perspective and subject separation, specifying 24mm for immersive scenes or 85mm+ for compression. Use aperture and sensor size prompts to simulate bokeh and distortion, guiding cinematic framing in AI outputs.
Wide-Angle Lenses for Expansive Scenery
Wide framing pushes foreground scale and depth; you should prompt 14-35mm equivalents to exaggerate space, include strong foreground elements, and set modest apertures to keep details sharp while maintaining cinematic perspective.
Telephoto and Prime Lenses for Narrative Portraiture
Telephoto compression isolates subjects and intensifies emotion; you should specify 85-200mm primes with wide apertures for tight framing, soft backgrounds, and controlled flare to craft intimate, story-driven portraits.
Primes offer sharper rendering and faster apertures, so you can request specific focal lengths and bokeh character to shape subject isolation; you should combine 50mm for environmental close-ups and 135mm for cinematic compression, and include cues about lens coatings, micro-contrast, and flattering perspective for believable AI portraits.
Simulating Manual Camera Settings
You mimic manual camera settings in prompts by specifying aperture, shutter speed, ISO, focal length and lens type to control depth, motion, and exposure, producing more believable cinematic AI images.
Controlling Aperture and F-Stop Values for Bokeh
Aperture determines your depth of field; you can use low f-stops (f/1.4-f/2.8) in prompts for strong bokeh, and higher values for overall sharpness-mention lens and sensor to refine blur.
Managing Shutter Speed and Motion Blur Dynamics
Shutter speed controls motion blur; you specify fast speeds (1/500-1/2000) to freeze action and slow speeds (1/30-1/2) to create streaking motion-pair with ISO and aperture prompts to balance exposure.
Slower shutter speeds introduce light trails and require simulated tripod stability; when you ask for intentional blur, describe direction, duration, and subject movement to guide the AI’s motion rendering.
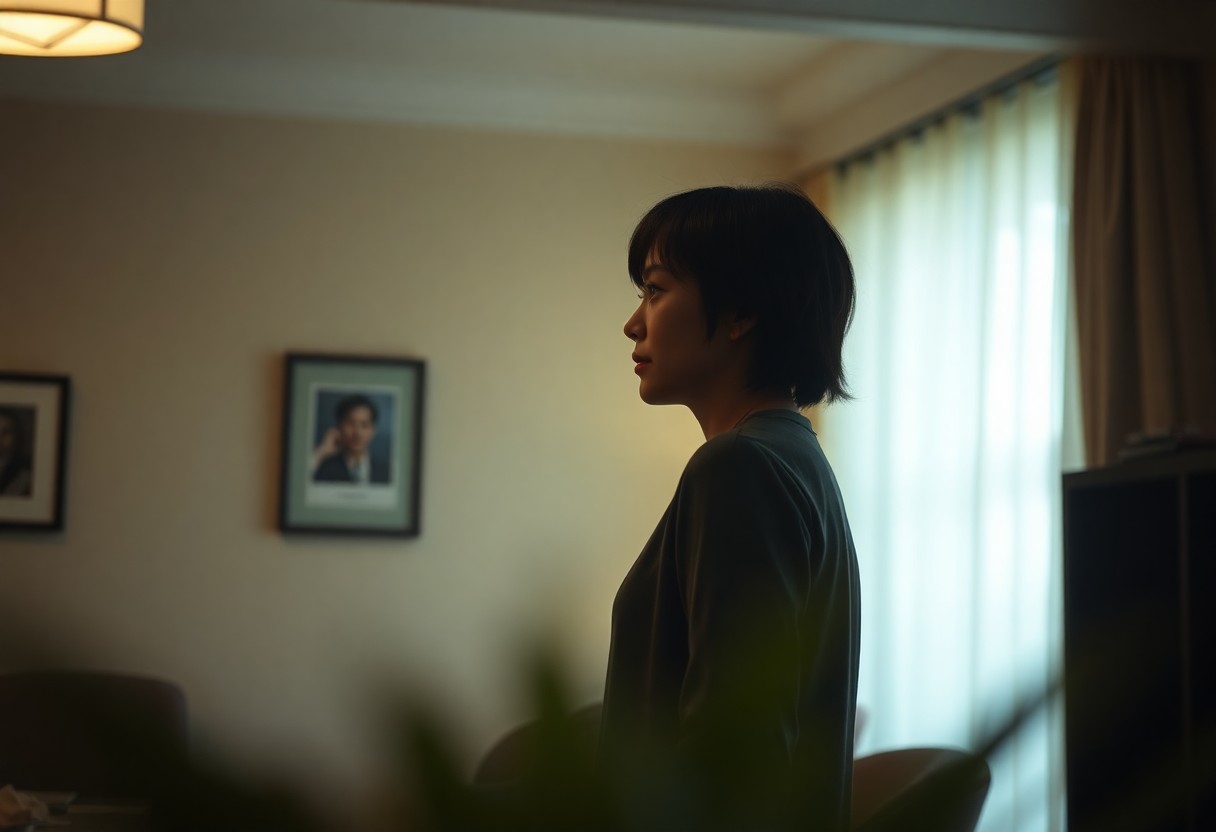
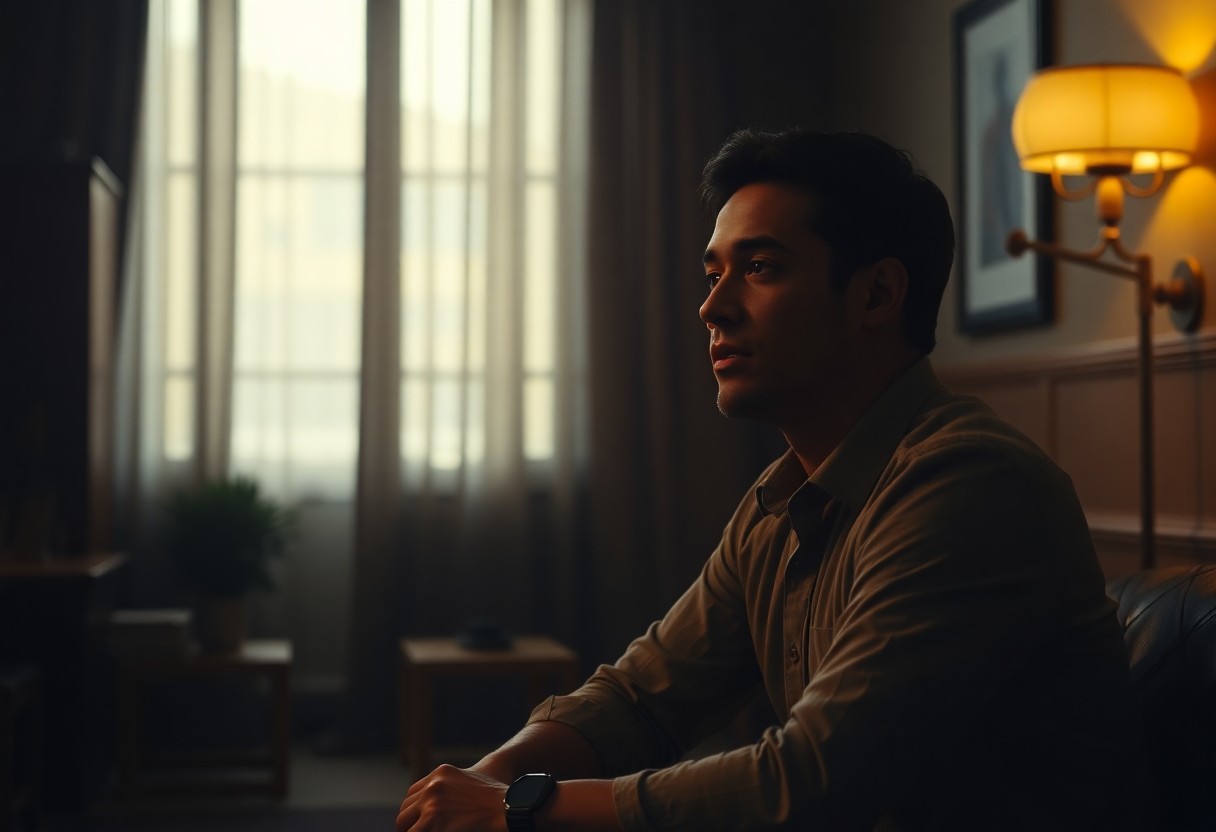
Lighting Architectures for Narrative Depth
Lighting architectures shape narrative depth by controlling contrast, color temperature, and directional focus; you craft mood through layered sources, shadow placement, and selective highlights to guide viewer attention in cinematic AI images.
Three-Point Lighting and Chiaroscuro Techniques
Apply three-point lighting and chiaroscuro techniques so you balance key, fill, and rim lights to model forms while using deep shadows to imply mystery and direct gaze.
Utilizing Golden Hour and High-Dynamic Range Prompts
Use golden hour cues and high-dynamic-range prompts so you simulate warm, low-angle sunlight paired with extended highlights and preserved shadow detail for emotionally resonant panoramas.
Craft prompts that specify warm Kelvin values, soft rim flares, and bracketed exposures so you retain highlight nuance while boosting midtone warmth; guide the model with “golden hour, 35mm, 85mm, HDR merge, clean shadows” to reproduce cinematic glow with textured shadow detail.
Atmospheric Effects and Environmental Lighting
Atmospheric scattering and subtle color grading shape mood; you should tweak haze density, range falloff, and temperature to make light interact believably with objects and camera exposure.
Volumetric Fog and Ray-Tracing Simulation
Fog density, anisotropy, and scattering coefficients let you sculpt light shafts; use ray-traced volumetrics to simulate authentic beam behavior, control shadow contrast, and keep render samples balanced to avoid noise.
Global Illumination and Soft Box Lighting
Global illumination balances indirect bounce and color bleed, so you should tune probe density, bounce depth, and diffusion to retain natural softness while avoiding color contamination.
Soft box setups mimic large-area diffusion; you should position area lights close to subjects, match color temperature to ambient GI, and reduce intensity to let indirect bounces fill shadows. Adjust size for softer shadows, add subtle rim light for separation, and increase sample counts or apply denoising to control GI and volumetric noise.
Advanced Color Grading and Stylistic Prompts
Mastering nuanced color shifts and stylistic prompts lets you sculpt mood with camera-aware tone mapping, LUT hints, and contrast curves; use targeted hue shifts and selective saturation to guide attention while preserving skin tones and highlights.
- Specify a base LUT and tweak midtone hue for emotional intent.
- Use weighted adjectives (e.g., “soft teal shadows:0.6”) to control strength.
- Combine film grain and bloom sparingly to retain clarity.
Advanced Grading Reference
| Element | Prompt Use |
| LUT hint | Reference a film stock or LUT name with strength (e.g., “Portra:0.8”). |
| Hue shifts | Target shadows, midtones, highlights separately for controlled mood. |
| Grain | Specify type, size, and opacity to match sensor/film feel. |
| Contrast | Use curve descriptors like “S-curve” or “matte blacks” with intensity values. |
Cinematic Color Palettes and Film Stock Emulation
Palette choices and film-stock emulation let you mimic Kodak Portra’s warmth or Fuji’s coolness; you should specify tone curves, color cast, grain level, and ISO response to match camera style.
Post-Processing Keywords and Texture Refinement
Keywords like “subtle grain”, “bloom highlights”, “matte blacks”, and “micro-contrast” help you refine output textures; include strength values and blend modes to steer generative adjustments precisely.
Texture management requires you to balance macro and micro details: specify grain type, size, and intensity, add directional film grain for motion suggestions, and apply micro-contrast masks to preserve skin while sharpening fabric; use negative keywords to suppress unwanted artifacts, set prompt weights to prioritize fine detail, and match denoising settings to camera ISO for consistent realism.
Summing up
Presently you must master camera settings, lighting prompts, and composition to produce cinematic AI images; adjust exposure, aperture, ISO, color temperature, and light direction while refining prompt specificity and performing iterative tests to control mood, depth, and photorealism.


Leave A Comment